Important
La traduction est le fruit d’un effort communautaire auquel vous pouvez vous joindre. Cette page est actuellement traduite à 41.18%.
17.26. L’interface de traitements par lots
Note
Cette leçon introduit l’interface de traitements par lots, qui permet d’exécuter un seul algorithme avec un ensemble de valeurs d’entrée différentes.
Parfois, un algorithme donné doit être exécuté de manière répétée avec des entrées différentes. C’est le cas, par exemple, lorsqu’un ensemble de fichiers d’entrée doit être converti d’un format à un autre, ou lorsque plusieurs couches d’une projection donnée doivent être converties en une autre projection.
In that case, calling the algorithm repeatedly on the toolbox is not the best option. Instead, the batch processing interface should be used, which greatly simplifies performing a multiple execution of a given algorithm. To run an algorithm as a batch process, find it in the toolbox, and instead of double-clicking on it, right-click on it and select Run as batch process.
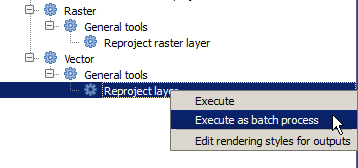
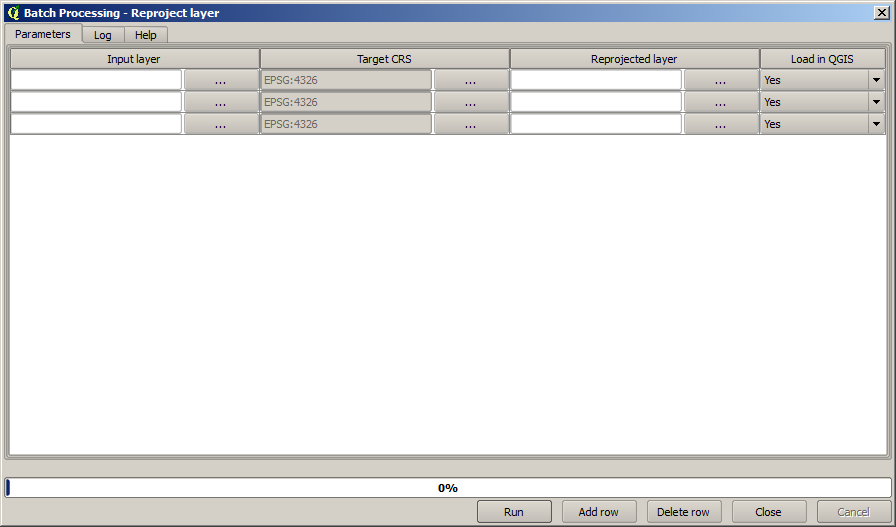
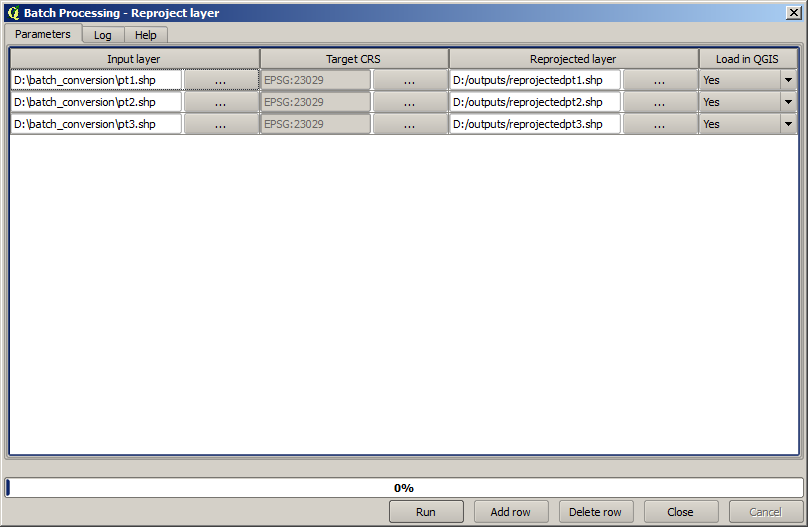
For this example, we will use the Reproject layer algorithm, so find it and do as described above. You will get to the following dialog.
Si vous regardez les données pour cette leçon, vous verrez qu’elles contiennent un ensemble de trois shapefiles, mais aucun fichier de projet QGIS. C’est parce que lorsqu’un algorithme est exécuté en tant que traitement par lots, les couches en entrée peuvent être sélectionnées soit à partir du projet QGIS courant, soit à partir de fichiers. Cela permet de traiter plus facilement de grandes quantités de couches, telles que par exemple toutes les couches dans un dossier donné.
Chaque ligne dans la table de la boîte de dialogue de traitement par lots représente une seule exécution de l’algorithme. Les cellules sur une ligne correspondent aux paramètres nécessaires pour l’algorithme, qui ne sont pas disposés l’un en dessus de l’autre, comme dans la boîte de dialogue d’une exécution unique normale, mais horizontalement sur la même ligne.
Définir les traitements par lots à lancer se fait en remplissant la table avec les valeurs correspondantes. La boîte de dialogue contient plusieurs outils qui peuvent faciliter cette tâche.
Let’s start filling the fields one by one. The first column to fill is the Input layer one. Instead of entering the names of each one of the layers we want to process, you can select all of them and let the dialog put one in each row. Click on the button in the upper-left cell, and in the file selection dialog that will popup, select the three files to reproject. Since only one of them is needed for each row, the remaining ones will be used to fill the rows underneath.
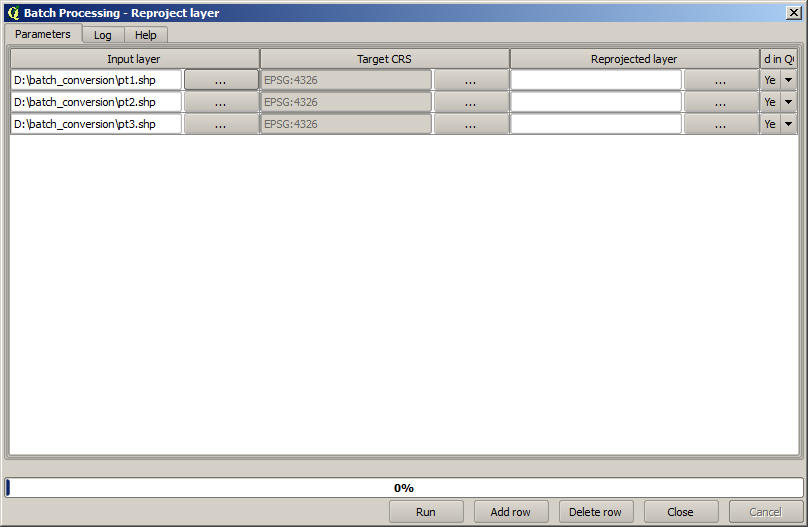
The default number of rows is 3, which is exactly the number of layers we have to convert, but if you select more layers, new rows will be added automatically. If you want to fill the entries manually, you can add more rows using the Add row button.
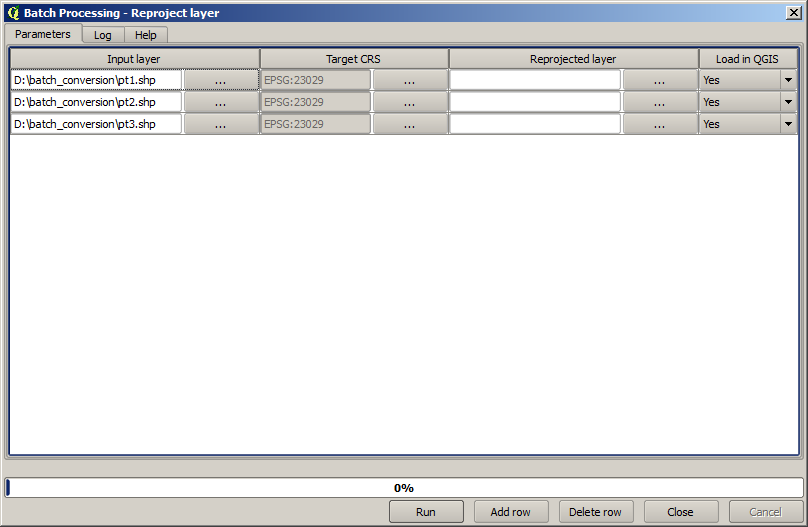
We are going to convert all those layers to the EPSG:23029 CRS, so we have to
select that CRS in the second field. We want the same on for all rows, but we
do not have to do it for every single row. Instead, set that CRS for the first
row (the one at the top) using the button in the corresponding cell, and then
double click on the column header. That causes all the cells in the column to
be filled using the value of the top cell.
Finally, we have to select an output file for each execution, which will contain
the corresponding reprojected layer. Once again, let’s do it just for the first row.
Click on the button in the upper cell and, in a folder where you want to put
your output files, enter a filename (for instance, reprojected.shp).
Now, when you click OK on the file selection dialog, the file does not automatically gets written to the cell, but an input box like the following one is shown instead.
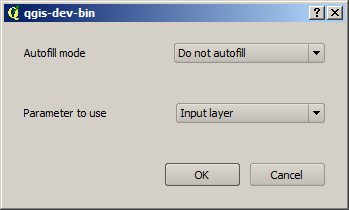
If you select the first option, only the current cell will be filled. If you
select any of the other ones, all the rows below will be filled with a given
pattern. In this case, we are going to select the Fill with parameter value
option, and then the Input Layer value in the drop down menu below.
That will cause the value in the Input Layer (that is, the layer name) to
be added to the filename we have added, making each output filename different.
The batch processing table should now look like this.
The last column sets whether or not to add the resulting layers to the
current QGIS project. Leave the default Yes option, so you can see your
results in this case.
Click on OK and the batch process will be run. If everything went fine, all your layers will have been processed, and 3 new layers would have been created.