Wichtig
Übersetzen ist eine Gemeinschaftsarbeit :ref:`Sie können mitmachen <translation_guidelines>. Diese Seite befindet sich derzeit im |Übersetzungsfortschritt|.
2.3. Übung: Navigieren in der Kartenansicht
Dieser Abschnitt behandelt grundlegende Werkzeuge in QGIS, die zur Navigation in der Kartenansicht genutzt werden. Diese Werkzeuge erlauben es, die Layer in verschiedenen Maßstäben visuell zu erkunden.
Ziel dieser Lerneinheit: Lerne die Werkzeuge Verschieben/Pan und Zoom in QGIS zu nutzen und etwas über Kartenmaßstäbe.
2.3.1. ★☆☆ Machen Sie mit: Grundlegende Navigationswerkzeuge
Bevor wir lernen, wie man in der Kartenansicht navigiert, fügen wir einige Layer hinzu, die wir im Laufe dieses Tutorials erkunden können.
Öffnen Sie ein neues leeres Projekt und laden Sie mithilfe der in Karte erstellen gelernten Schritte die bekannten
Schutzgebiete,StraßenundGebäudeals Layer in das Projekt. Das Ergebnis sollte so aussehen wie im Screenshot unten Abb. 2.8 (Farbe können abweichen):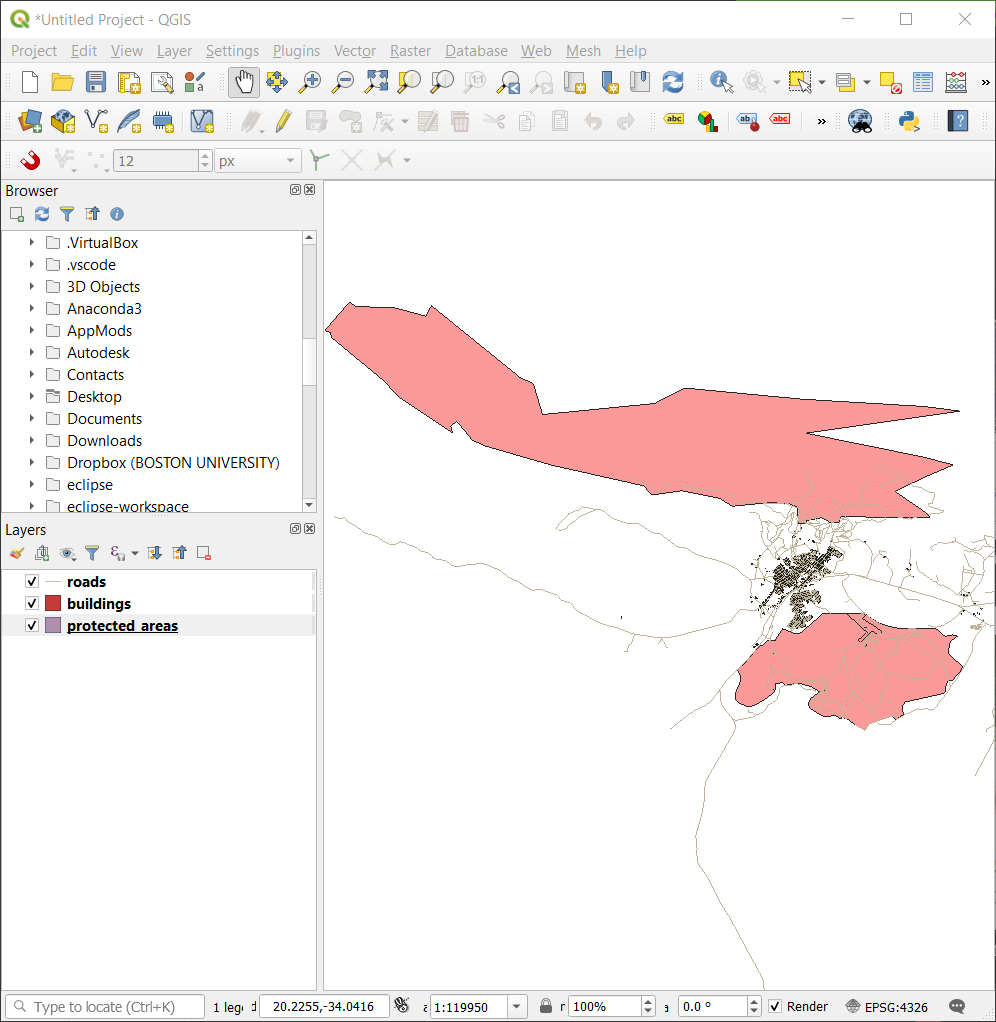
Abb. 2.8 Hinzugefügte Schutzgebiete, Straßen und Gebäude
Lerne zunächst die Funktion ‚Verschieben/Pan‘ zu nutzen.
Stellen Sie sicher, dass in der Symbolleiste für die Kartennavigation die Option
 Verschieben aktiviert ist.
Bewege den Mauscursor in die Mitte des Kartenbereiches.
Klicken Sie mit der linken Maustaste, halten Sie sie gedrückt, und ziehen Sie die Maus in eine beliebige Richtung, um die Karte zu verschieben.
Als Nächstes zoomen wir hinein und werfen einen genaueren Blick auf die Layer, die wir importiert haben.
Klicken Sie in der Symbolleiste für die Kartennavigation auf das Symbol
 Hineinzoomen.
Bewegen Sie Ihre Maus ungefähr in den oberen linken Bereich, wo sich die meisten Gebäude und Straßen befinden.
Klicken Sie mit der linken Maustaste und halten Sie die Maustaste gedrückt.
Ziehen Sie dann die Maus, wodurch ein Rechteck entsteht. Ziehen Sie das Rechteck über den Bereich mit den vielen Gebäuden und Straßen (Abb. 2.9) auf.
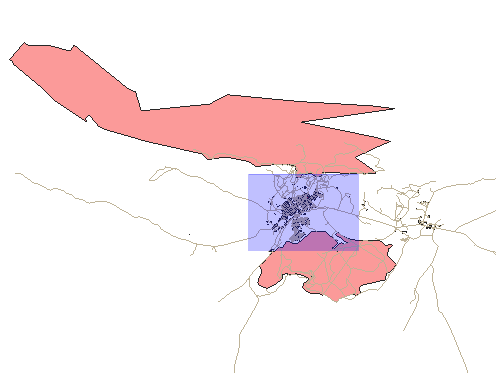
Abb. 2.9 Hineinzoomen
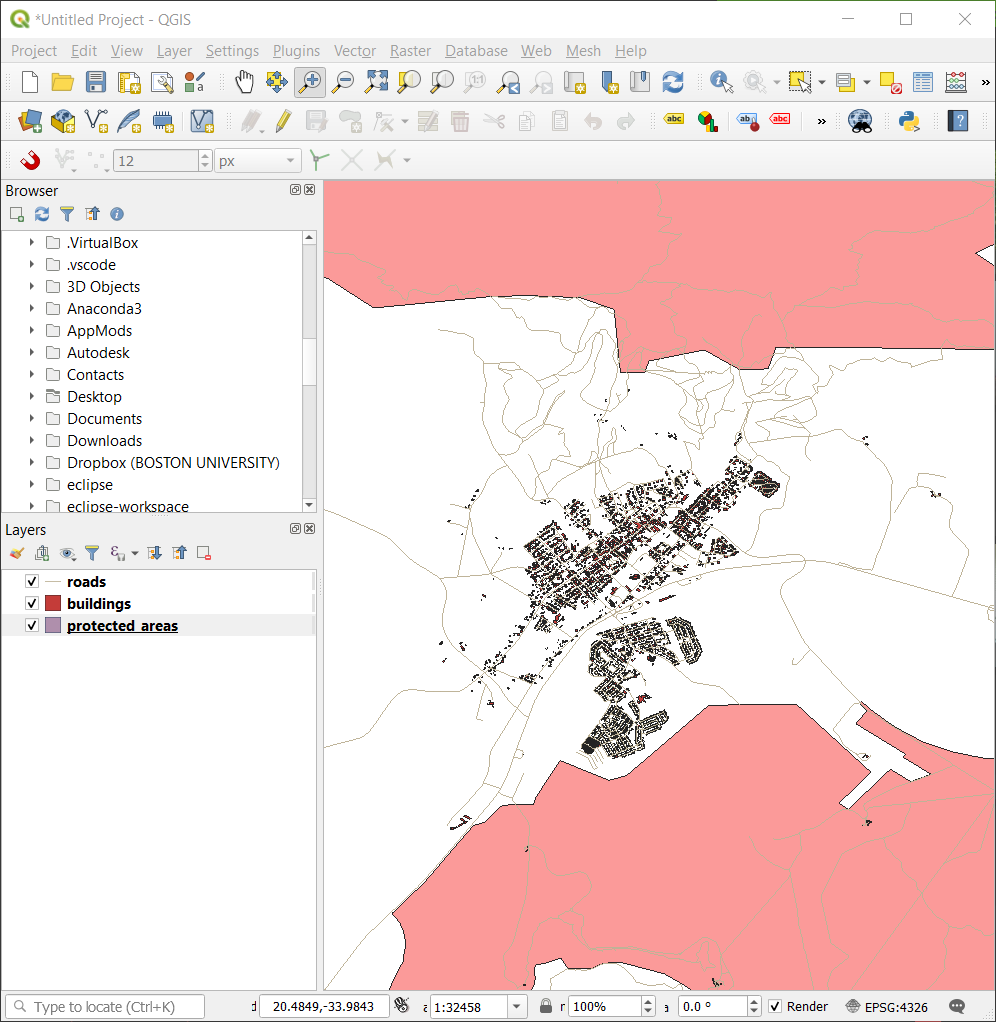
Lassen Sie die linke Maustaste los. Dadurch wird der Bereich vergrößert, den Sie mit Ihrem Rechteck ausgewählt haben.
Um die Ansicht zu verkleinern, wählen Sie die Schaltfläche Hinauszoomen und führen Sie die gleiche Aktion wie beim Vergrößern durch.
Beim Verschieben, Hinein- oder Hinauszoomen speichert QGIS diese Ansichten in einem Verlaufsprotokoll. Dies ermöglicht es Ihnen, zu einer vorherigen Ansicht zurückzukehren.
Klicken Sie in der Symbolleiste für die Kartennavigation auf
 Zoom zurück, um in die vorherige Ansicht zu wechseln.
Klicken Sie auf
 Zoom vor, um in Ihrem Verlauf fortzufahren.
Manchmal müssen wir nach dem Untersuchen der Daten unsere Kartenansicht auf die Ausdehnung aller Layer zurücksetzen. Anstatt zu versuchen, das Hinauszoomen-Werkzeug mehrmals zu verwenden, bietet QGIS eine Schaltfläche, um diese Aktion auf einmal auszuführen.
Klicken SIe auf die Schaltfläche
 Volle Ausdehnung.
Beachten Sie, dass sich beim Hinein- und Hinauszoomen der Maßstabs-Wert in der Statusleiste ändert. Der Maßstabs-Wert stellt den Kartenmaßstab dar. Im Allgemeinen gibt die Zahl rechts von : an, wie oft das Objekt, das Sie im Kartenausschnitt sehen, kleiner ist als das tatsächliche Objekt in der realen Welt.

Sie können dieses Feld auch verwenden, um den Kartenmaßstab manuell festzulegen.
Klicken Sie in der Statusleiste auf das Kartenmaßstabs-Textfeld.
Geben Sie
50000ein und drücken Sie Enter. Dadurch werden die Objekte im Kartenausschnitt neu gezeichnet, um den von Ihnen eingegebenen Maßstab widerzuspiegeln.Alternativ können Sie auf den Optionspfeil des Feldes Maßstab klicken, um die voreingestellten Kartenmaßstäbe einzusehen.
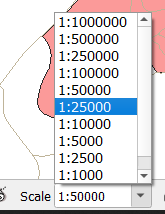
Wählen Sie 1:5000 aus. Dadurch wird der Kartenmaßstab im Kartenausschnitt aktualisiert.
Jetzt kennen Sie die Grundlagen der Navigation im Kartenfeld. Lesen Sie das Benutzerhandbuch zum Zoomen und Verschieben, um alternative Möglichkeiten der Karten-Navigation kennenzulernen.
2.3.2. Zusammenfassung
Zu wissen, wie man in der Kartenansicht navigiert, ist wichtig, da man dadurch die Layer erkunden und visuell überprüfen kann. Dies kann für eine erste Sichtung der Daten oder zur Überprüfung der Ergebnisse einer räumlichen Analyse hilfreich sein.